
How to Add a Voicemail
- Go to Account > Cloud PBX or Business Cloud > Voicemail.
- In the top right corner, click [+ Add Voicemail Box].
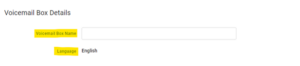
- Enter the following information: Give the voicemail box a name. On Cloud PBX, also select the language that will be used by the voicemail menu: English or French. A user can be assigned to the box later in User > Voicemail tab.
- Upload the greetings (Basic, Busy, No Answer) and personal name recordings used for this voicemail box. This can also be done later. The Basic greeting is used for all calls. However, if Busy or No Answer greetings are uploaded, they will be used instead.
- To upload a greeting, click the field to select a file from your computer, then click [Upload] on the right. The upload will accept WAV, MP3, and OGG files that are less than 10MB.
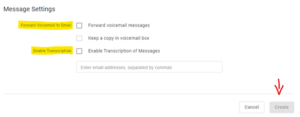
- Messages left on the user’s voicemail box can be forwarded as an MP3 file to one or more email addresses.
- Forward Voicemail to Email:
- Check the appropriate boxes to have our system forward voicemail messages to a given email address, and if you want a copy of the voicemail kept in the voicemail box.
- When checked, the message waiting indicator (MWI) on the user’s device will stay on until the user listens to or deletes the message from their device or the Voice Portal.
- Email Address:
- The email address(es) voicemails will be forwarded to. This feature must be enabled via the appropriate check box for emails to be forwarded.
- The email address(es) voicemails will be forwarded to. This feature must be enabled via the appropriate check box for emails to be forwarded.
- Forward Voicemail to Email:
